Table of contents
No headings in the article.
Hey there, this is my first blog article today so if you see any mistake please ignore it just the way your crush ignores you 😜.
Everybody knows how to code but only a few know how to host it on different platforms and make it production ready. Today we will learn one of the ways to do it. The Flow of the blog goes like this-
- We will create a new react project.
- We will build the react project.
- Upload our build files to AWS S3 and enable Static web hosting.
if you are not familiar with anything from the above don't worry. you will understand everything at the end of the blog.
First, we will create a new react app with the following command -
npx create-react-app my-app
Then, we will run the app and check it using :
npm run start
Everything seems fine till now and you may already know this thing.
To build the react app we have to use the following command on your terminal:
npm run build
It may take a while to create an optimized production build.
On successful completion, you will see a new folder name build on your project root directory.
We need to upload files inside our build folder on AWS S3.
Login to your AWS Account and head over to S3.
We will create a new bucket using create bucket button.

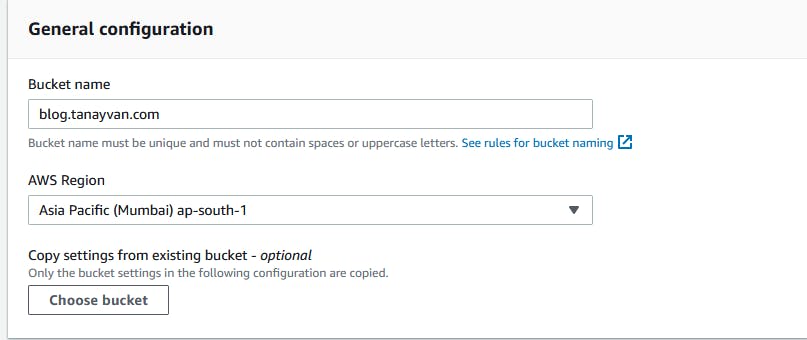
Name your bucket (it would be better to name it with the domain name on which you will open this website ) and select the region as per your need.
By default the bucket access is private we need to make it public in order to be accessible on the internet. Uncheck the Block all public access and check the acknowledge button as shown below.
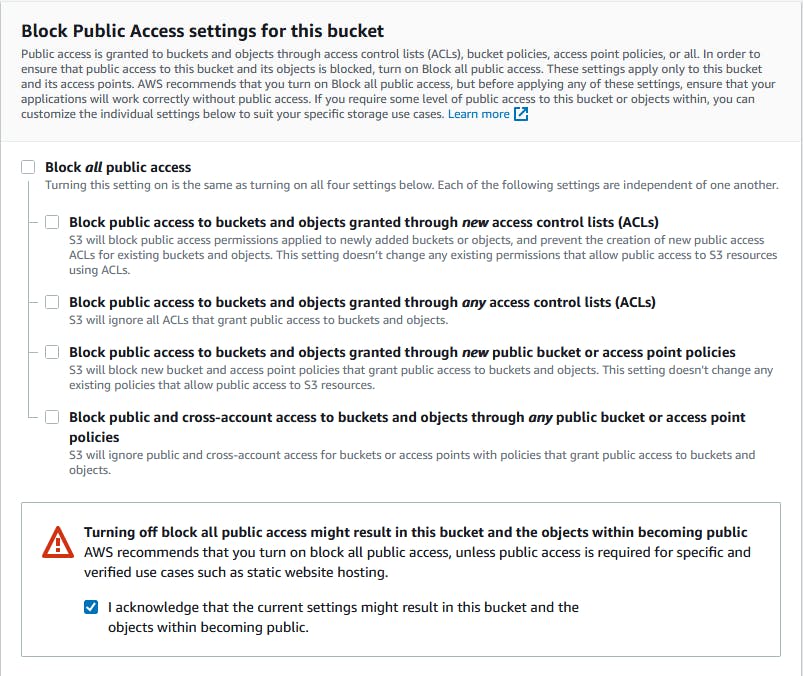
After that click, "Create Bucket" at the end.
After the bucket is created but still our public access is not enabled so we need to add a bucket policy under "Permissions" as shown below to make it public.
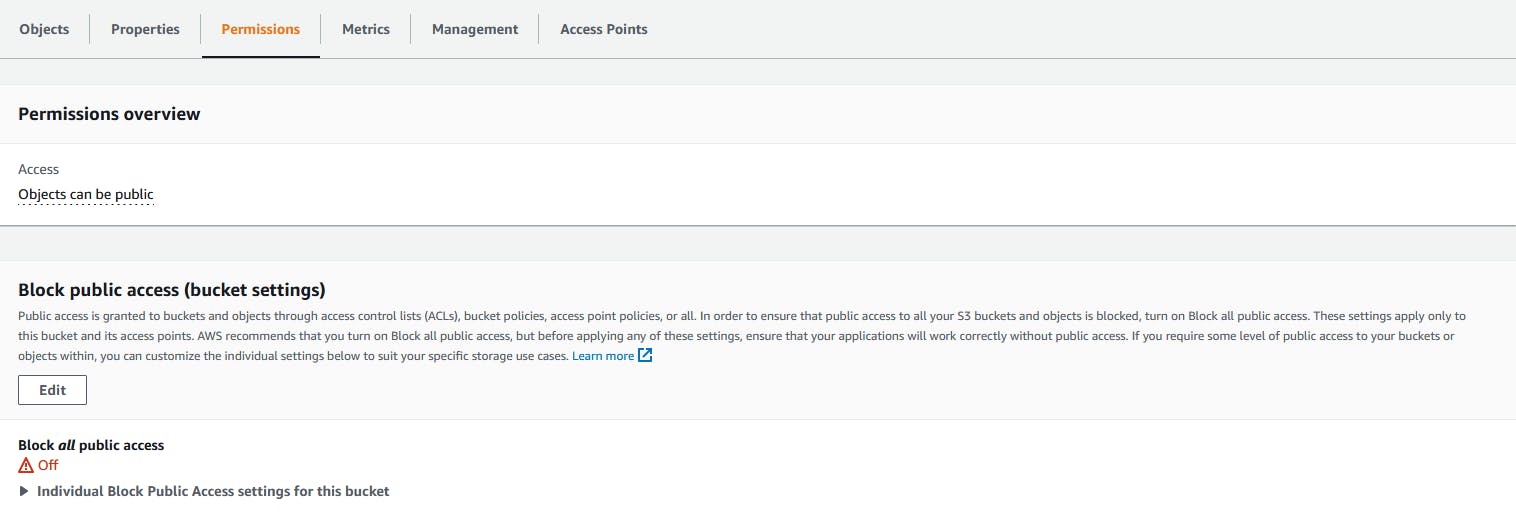
Edit the Bucket Policy under permissions and Add the following JSON
{
    "Version": "2012-10-17",
    "Statement": [
        {
            "Sid": "PublicReadGetObject",
            "Effect": "Allow",
            "Principal": "*",
            "Action": "s3:GetObject",
            "Resource": "arn:aws:s3:::BUCKET_NAME/*"
        }
    ]
}
Here Replace the BUCKET_NAME with the bucket name you provided earlier.
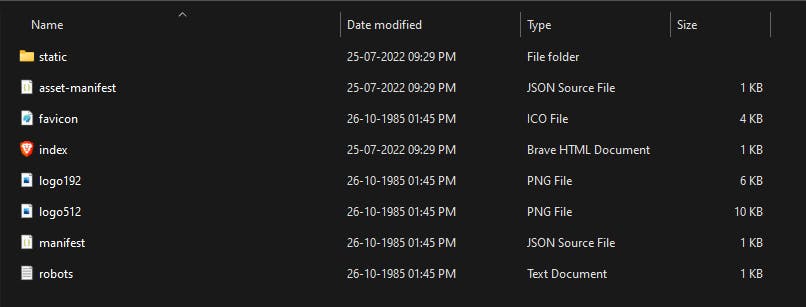
Now we will upload our files in this bucket which are inside our build folders.
The structure of files will somewhat look like this:
After the Upload of the file is done we will enable Static website hosting so we can access our website.
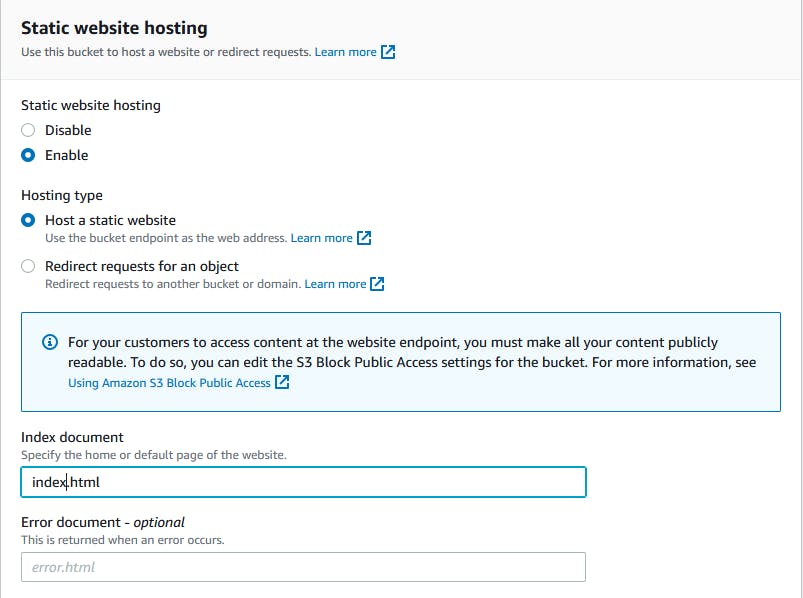
Head over to the Properties tab and scroll at the bottom where you will see Static website hosting.

Click on Edit and Enable the option and in the Index document add index.html and save changes.
 .
.
Congrats! 🎉 .You just deployed your first react app and you can access it from the Bucket website endpoint from here.

In our next blog, we will try to set up a CI/CD for our react app using AWS CodeBuild. Thank You Guys.


