Automate Your React Deployment Using Aws Codebuild

In the previous blog, we learned how manual deployment is done for a react app. But that's a boring job to do every time when you have changes in your code. What if I tell you, that we can automate this process. Every time, you push your code on Github(or any other source provider) it gets auto-deploy on your s3 bucket. For this, we will use the AWS CodeBuild.
The flow of the blog goes like this-
- We will configure our frontend app for auto deployment.
- Set up AWS Codebuild.
- That's it .there is nothing much in it.
What is AWS CODE BUILD?
In simple terms, It will build our frontend app on a cloud machine, and then we can copy those build files into our s3 bucket. For more understanding, you should try searching on your own.
I am assuming you already know how to build a react app manually. If not you should first take a look at it from here .
Configuring our react project
For this, we will create a new file named buildspec.yml in our project root directory.
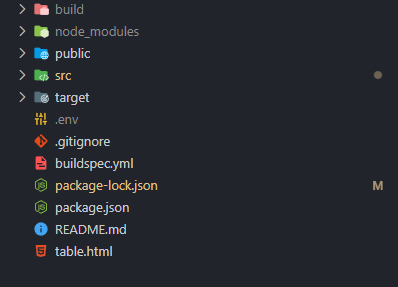
This file will contain what commands should be executed and the specific node version needed to build our project. The buildspec.yml looks like this -
version: 0.2
phases:
  install:
    runtime-versions:
      nodejs: 12
    commands:
      - echo "Installing dependencies..."
      - npm install
  build:
    commands:
      - echo "Building React project..."
      - npm run build
  post_build:
    commands:
      - echo "Updating files in the S3 bucket..."
      - aws s3 sync build/ s3://BUCKET_NAME/
Here BUCKET_NAME should be changed with your actual bucket name.
Here you can see there are 3 phases -
- Install
- build
- post_build
In the install phase, we will add those commands which is needed to be executed before we run our next command that is build.
In the build phase, we will add those commands to build our project.
For react it will be npm run build.
Lastly, for post_build we will execute commands which are needed if the build gets succeded. For example, in our case, it would be to copy the content to our s3 bucket.
this can be done via this command: aws s3 sync build/ s3://BUCKET_NAME/
This is the only file we need to add to our project now we can push these changes to Github or the only other platform.
Set up AWS Codebuild
Login to your AWS Account and head over to AWS CodeBuild.
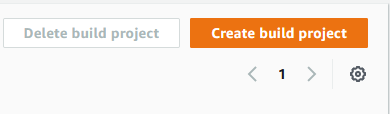
Click on Create Build Project button.
For Project configuration, enter the project name of your choice.

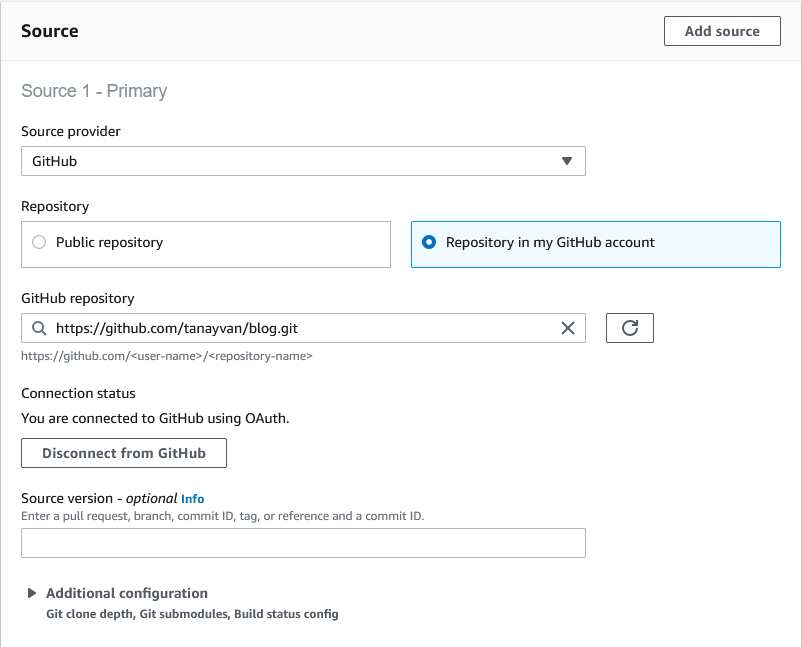
For Source, select Source provider as per your requirement and select your repository.
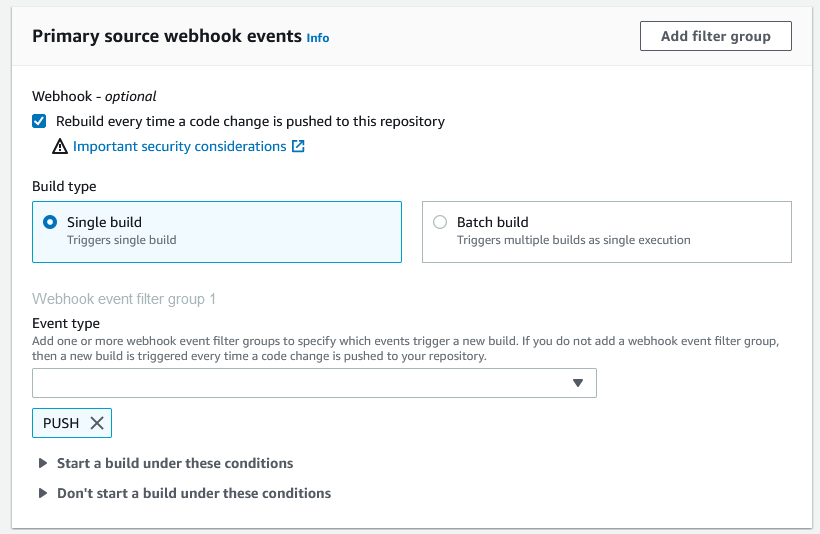
 For Primary source webhook events, we will check the rebuild every time option and for event type, we will select PUSH. There are also different Event types too such as PULL_REQUEST_CREATED, PULL_REQUEST_MERGED, and many more.
For Environment, we will select Linux as Operating System.

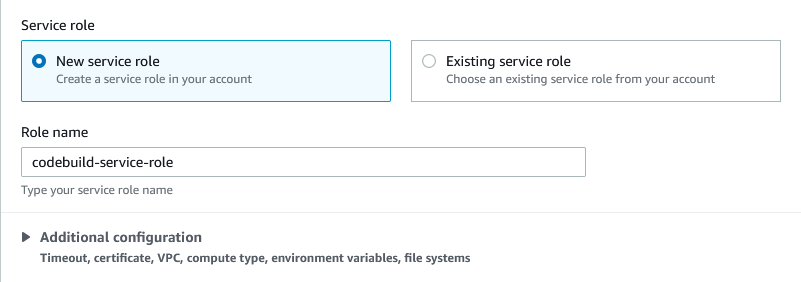
In the Service role, we will create a new role and make sure AWS S3 full access policy is attached to our newly created role. If not, we need to add it manually from IAM .
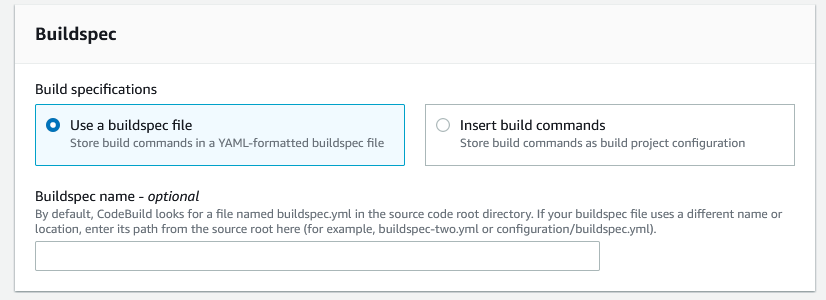
For Buildspec, we will select Use a buildspec file option.
Other than that we will keep other settings as default for now and click on Create build project.

After successful completion, you can push something on your repo and the build will start automatically, or click on Start Build in the top right corner to manually fire a build and in some time you will see the changes on your s3 endpoint.

Congrats 🎉! You have just set up your own fully managed continuous integration service using AWS CodeBuild. If you find this blog informative or helpful leave a like or let me know in the comments.